
Customisation & printing
What can be changed on a standard model, what needs tooling, and how long each path takes. If you are deciding between adapting an existing product and developing a new one, this page is the comparison.
Adapt an existing model, or develop one
Almost every project falls into one of these two. The difference is measured in weeks and in tooling cost.
Adapt an existing model
Start from a factory's current tool set and change fabric, colour, print, handle and packaging.
- No tooling cost in most cases
- Sampling typically 7–12 days
- Lower MOQ
- Dimensions limited to what the factory already makes
Develop a new model
New frame, new moulded parts, or a structure that no factory currently runs.
- Tooling quoted separately and usually paid up front
- Sampling extends, often by several weeks
- Higher MOQ
- Result is yours and cannot be quoted against by competitors
Canopy material options
Fabric choice drives price, colour retention and how long the product looks presentable. It is the specification most worth being explicit about.
| Fabric | Used for | What it gives you |
|---|---|---|
| Polyester 180T–210T | Patio and market umbrellas | Baseline cost, wide colour availability, water-repellent finish |
| Solution-dyed acrylic | Premium patio and resort | Colour held through the fibre rather than printed on it; far better fade resistance |
| Pongee 190T | Golf and promotional | Smooth surface that takes print cleanly |
| RPET polyester | Any category with a sustainability requirement | Recycled content with documentation — request it at quotation stage |
| Oxford with coating | Beach, shelters and tents | Tougher fabric with PU or silver coating for weather and sun |
UPF rating, water column and recycled content are claims that need test evidence. Say so in the enquiry and we will source the fabric and arrange third-party testing at cost, rather than discovering the requirement after production.
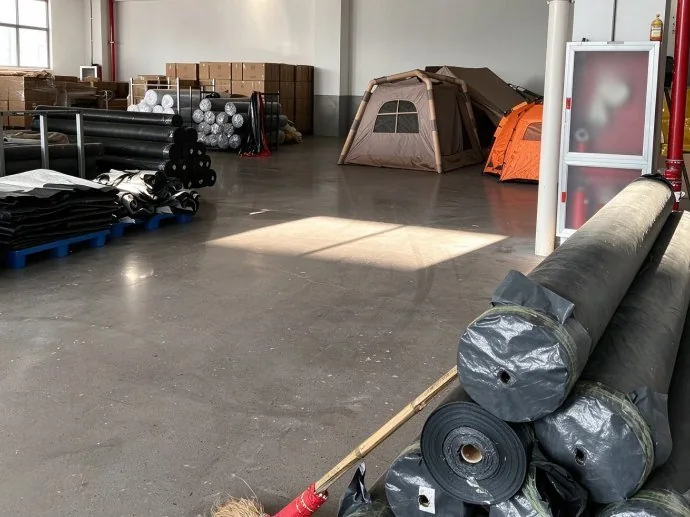

Panel sewing — the stage where seam quality is actually decided
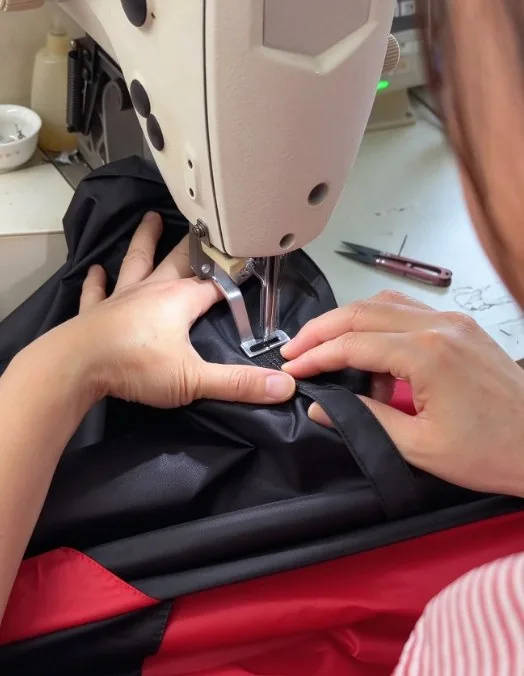
Two-tone panels being joined — panel alignment is checked panel by panel, not at the end
Frames, shafts and handles
Components are sourced inside the cluster, so changing a specification rarely means rebuilding the supply chain.
Ribs
Steel for cost, fiberglass for flex and corrosion resistance, aluminium for weight. Rib count and profile change wind behaviour.
Shafts
Steel, aluminium, fiberglass or wooden, in several diameters and wall thicknesses. Specify both, not just diameter.
Handles
Straight, crook, EVA, wooden, rubberised or leather-look. Custom tooling possible and quoted separately.
Moulded parts
Tips, ferrules, caps and closures. Logo moulding requires tooling and extends lead time.
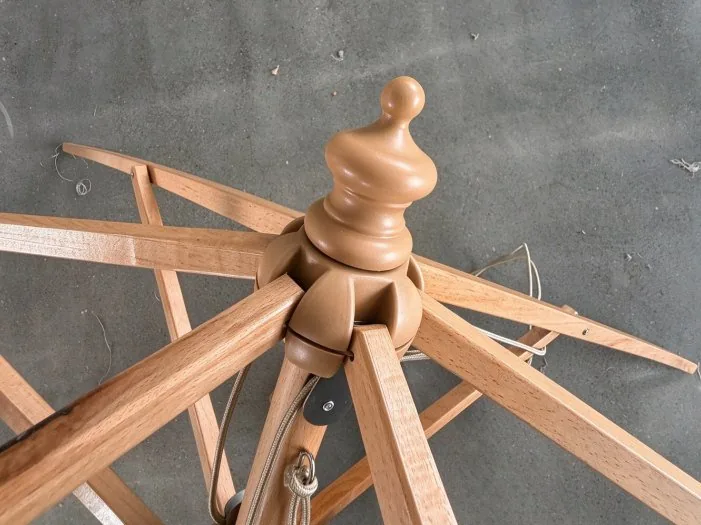
How a frame actually gets made
A patio or parasol frame starts as tube, not as finished parts. Knowing the sequence tells you which changes are still free and which ones restart the line.
- Cut to length — steel or aluminum tube is cut to your pole and rib lengths. Changing a dimension costs nothing before this step and real money after it.
- Drill and punch — holes for pins, buttons, rivets and crank parts. Hole position is the most common reason a frame will not assemble smoothly on the line.
- Form and bend — straight tube is bent for crank arms, tilt joints and domed profiles.
- Finish — powder coating, anodising or plating, quoted by the metre and affected by colour availability.
- Assemble and rivet — hubs, joints, runners and end fittings come together by hand and by machine.
- Test fit — frames are opened with production fabric before packing, because a tolerance error only appears under load.
Standard diameters, wall thicknesses and joint shapes are already tooled across the cluster. A custom die or mandrel is quoted separately and adds lead time — worth it only above a volume you can repeat.
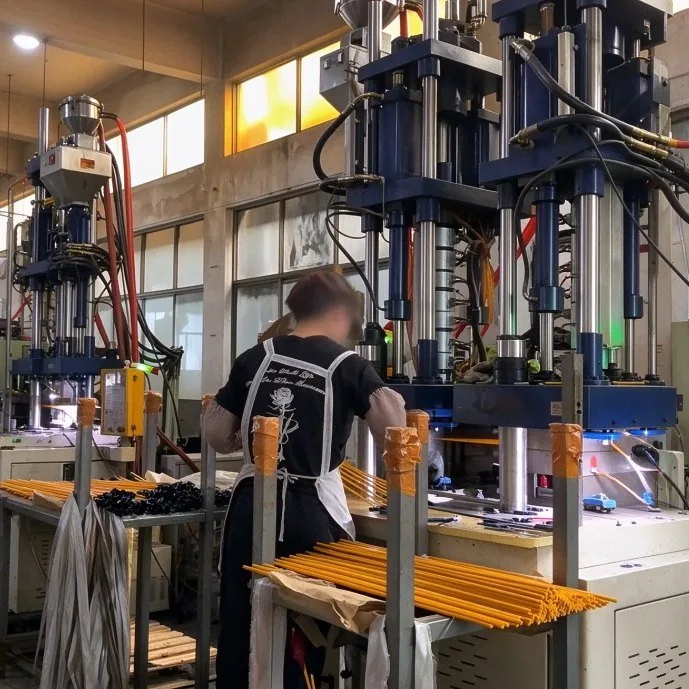
Cutting, drilling and forming — the steps before a frame reaches assembly
Four methods, chosen by artwork and volume
We recommend the method after seeing your file, but this table will tell you roughly where you stand before you send it.
| Method | Suits | Colour capability | Cost profile |
|---|---|---|---|
| Screen print | Solid logos, simple marks | Spot colours, typically up to 4 | Lowest unit cost at volume; set-up per colour |
| Heat transfer | Gradients and detailed artwork | Full colour | Mid cost; good for multicolour marks |
| Digital print | Full-panel patterns and photographic art | Unlimited | Highest unit cost, no screen charges |
| Woven label / embroidery | Small marks on sleeves, ties and bags | Limited | Used where a stitched finish is wanted |
Vector files — AI, EPS or PDF — with Pantone references for spot colours. High-resolution raster files work for digital print but not for clean screen output. Sending artwork with the enquiry is the fastest way to shorten the sampling stage.
Matching to your range
Pantone references are accepted, and we confirm the achievable tolerance before sampling rather than after. Dye-lot variation between fabric batches is normal in this industry, and it is better to agree the tolerance in writing than to argue about it on arrival.
- Send the Pantone code and, if possible, a physical swatch
- We confirm tolerance with the factory and pass it back to you
- An approved reference sample is kept on file for reorders
- Solution-dyed fabric holds colour significantly longer under sun exposure

How a sample is built and approved
Sampling is where most delays happen, and most of them are avoidable. Here is the sequence and where your decisions sit in it.
Specification locked
Materials, dimensions, colour references, print method and placement agreed in writing.
Sample built
Typically 7–12 days for standard models. Custom tooling adds time and is quoted separately.
Photos first, then courier
We send photos for a first look, then ship the physical sample. Courier transit is additional.
Approval and reference sample
You sign off, we retain an identical reference sample as the standard for bulk production.
Samples are charged, and the cost is normally credited against your first bulk order. Courier is billed at cost. This keeps sample requests serious on both sides.
Private label and retail packing
Packing is quoted as its own line item because it varies by channel. Specify it early — changing it after production starts is expensive.
Bulk
Polybag and plain carton. Lowest cost for events and internal programmes.
Branded
Printed sleeve, carry bag or box with your artwork and colour.
Retail ready
Barcode, header card, hangtag and carton marking to retailer specification.

Packing bench — where carton marking and strap tension are checked before loading
- Carton marking — shipping marks, item codes and carton numbers printed to your specification
- Strap tension — too loose and pallets shift in transit; too tight and cartons crush at the corners
- Units per carton — agreed before packing starts, because changing it later means repacking by hand
- Photographic record — packed cartons and loaded containers photographed before sealing, sent for your file
Paperwork for your market
Standard export documents are prepared with every shipment. Testing and certification are arranged when your market requires them.
Provided with shipment
- Commercial invoice and packing list
- Bill of lading
- Certificate of origin where required
- Packing photos and inspection report
Arranged on request, at cost
- Third-party laboratory testing to your required standard
- Fabric composition and performance reports
- Pre-shipment inspection by an independent agency
- Any market-specific compliance documentation you specify
Testing is arranged against a specific standard and takes time. If your market requires documentation, tell us at quotation stage so it is built into the schedule rather than added at the end.
Before the first seam
Print placement and panel layout are decided at the table, before the first seam is sewn. This is the stage that determines whether a logo lands straight.

Fabric laying before sewing — where print placement is fixed
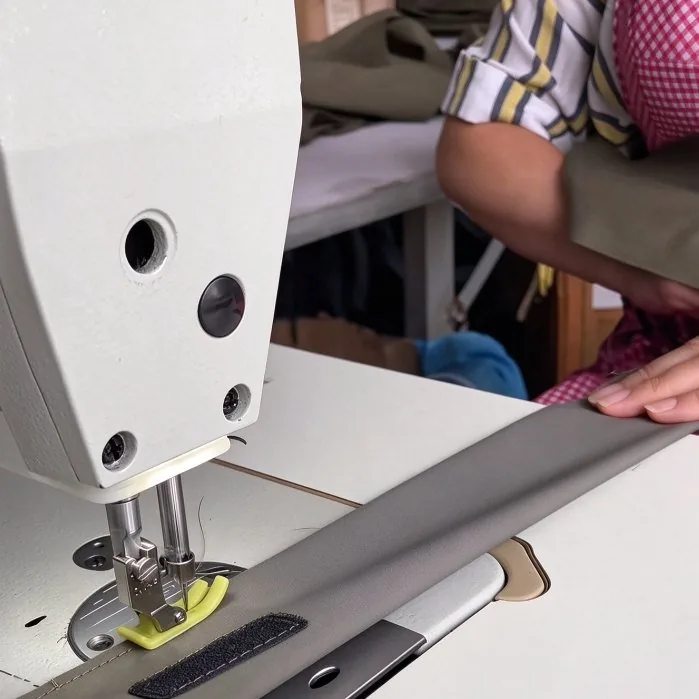
Sewing line — where most of the labour in an umbrella actually sits
Have a specification in mind?
Send it and we will tell you which path it needs, what tooling applies if any, and how long sampling takes.
Send your specification